
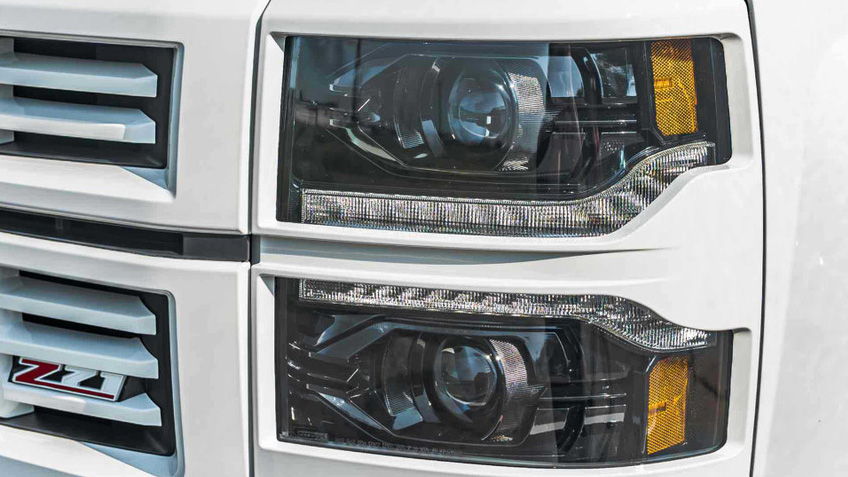
Replacing the C6 Corvette OEM headlights can feel intimidating, but with the right tools, preparation, and guidance, it’s a straightforward process. Whether you’re upgrading to LED headlights for better visibility or replacing a damaged assembly, this guide will walk you through the process step-by-step.
Shop jeep gladiator led tail lights oem at the TX Used Parts
1. Introduction
The C6 Corvette is a legendary vehicle, but over time, its OEM headlights may require replacement due to burnouts, damage, or a desire for improved lighting performance. Upgrading to modern LED headlights or restoring the original look with new OEM replacements can make a significant difference in your vehicle’s appearance and functionality.
Replacing your headlights not only enhances visibility but ensures safety during night driving. In this guide, we’ll cover everything from tools to testing the new installation.
2. Tools and Materials Required
Before starting, gather the following tools and materials to make the process seamless:
- Torx screwdriver
- 10mm ratchet
- LED bulbs or OEM replacement bulbs
- Headlight sealant (if required)
- Gloves and safety glasses
Having these items ensures that you can handle everything from removing the headlight assembly to securing the new unit. Proper tools prevent damage to sensitive components like the wiring harness.
3. Safety Precautions
Safety should always come first. Follow these steps to avoid injury or damage to your car:
- Disconnect the battery terminal to avoid electrical hazards.
- Wear protective gloves to prevent oil from your skin from contaminating the halogen bulbs or LED modules.
- Handle the headlight assembly carefully, as it contains fragile parts like the lens and reflector.
Additionally, dispose of old bulbs properly to protect the environment and avoid exposure to harmful materials.
4. Step-by-Step Replacement Process
Here’s how to replace your C6 Corvette headlights:
- Access the Headlights: Open the hood and locate the headlight assembly. You may need to remove the front bumper to access it fully.
- Disconnect the Wiring Harness: Carefully unplug the wiring connections, ensuring no wires are damaged.
- Remove the Old Headlight: Unscrew the mounting screws using the Torx screwdriver or ratchet. Pull the headlight assembly out gently.
- Install the New Headlight: Align the new unit in place and secure it with the screws. Connect the wiring harness.
- Reattach the Bumper: If the bumper was removed, reattach it securely.
5. Testing the New Headlights
Once installed, test the new headlights to ensure they’re functioning correctly:
- Turn on the low beams and check for proper illumination.
- Switch to high beams to confirm functionality.
- Adjust the headlight alignment if necessary using a beam tester or alignment tool.
Proper testing guarantees your headlights provide optimal visibility and meet safety standards.
6. Common Issues and Troubleshooting
Sometimes, issues can arise after installation. Here are common problems and their fixes:
- Burned Fuses: Check the fuse box and replace blown fuses.
- Moisture in Headlights: Use headlight sealant to prevent condensation.
- Improper Wiring: Double-check the wiring connections to ensure they’re secure and correctly placed.
If problems persist, consult the C6 Corvette manual or seek professional help.
7. Conclusion and Maintenance Tips
Replacing your C6 Corvette OEM headlights is a rewarding project that enhances both safety and aesthetics. To ensure longevity:
- Regularly clean the headlight lens using a gentle cleaning solution.
- Check for cracks or damage during routine maintenance.
- Use UV protection film to prevent lens discoloration.
By maintaining your headlights, you’ll enjoy clear visibility and a sharp look for years to come.
Leave a Comment
Your email address will not be published. Required fields are marked *