
The Best Way to Restore Faded C6 Corvette Headlights Permanently
Introduction
Over time, c6 corvette oem headlights tend to become foggy, yellowed, or hazy, reducing visibility and the vehicle’s aesthetic appeal. This is due to oxidation, UV exposure, and environmental contaminants that degrade the polycarbonate lens. Many Corvette owners struggle to find a long-lasting headlight restoration method that prevents re-fading.
This guide will walk you through permanent headlight restoration, comparing DIY methods vs. professional solutions, best products and jeep gladiator led tail lights oem, and how to protect headlights from future fading.
Causes of Headlight Fading in the C6 Corvette
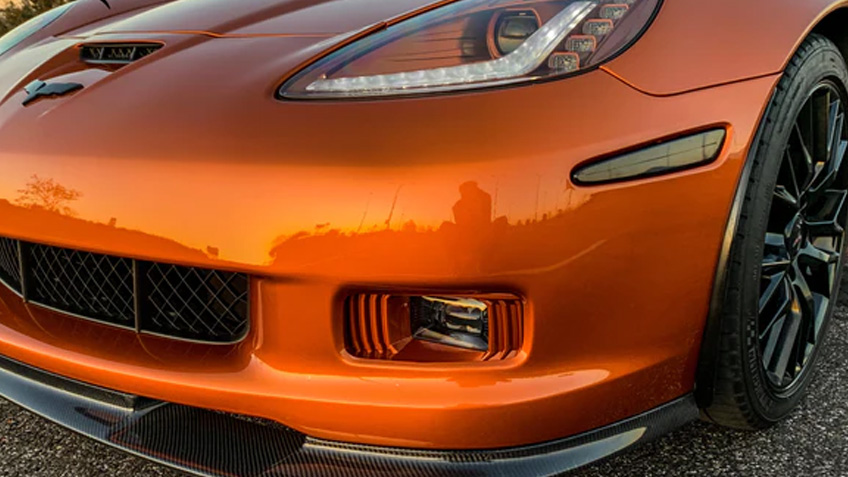
The C6 Corvette’s headlight assembly is made from polycarbonate plastic, which is durable but prone to UV degradation. Over time, exposure to sunlight, road debris, and harsh weather leads to:
- Oxidation: The outer layer of the headlight reacts with oxygen, causing a chalky, cloudy appearance.
- UV Damage: UV rays break down the headlight’s protective coating, leading to yellowing and discoloration.
- Moisture Buildup: Water vapor seeps into the headlight housing, creating an internal foggy effect.
- Environmental Contaminants: Dirt, dust, and chemicals from the road can cause surface deterioration.
🔹 Related terms: headlight discoloration, polycarbonate lens oxidation, sun-damaged headlights, weathered headlights, UV light exposure
DIY vs. Professional Headlight Restoration
DIY Headlight Restoration
✅ Pros:
- Cost-effective (under $50)
- Easily done at home
- Instant improvement
❌ Cons:
- Temporary results (fading returns in months)
- Requires manual labor
- Potential clear coat peeling if done incorrectly
Professional Headlight Restoration
✅ Pros:
- Long-lasting results (1-3 years)
- UV-protected coatings prevent re-oxidation
- More uniform and professional finish
❌ Cons:
- Costs $100-$300, depending on service
- Requires booking an appointment
- Not always as durable as OEM clear coat
🔹 Related terms: headlight restoration kit, professional detailing, UV protection for headlights, clear coat refinishing, oxidation removal
Step-by-Step Guide to Permanent Headlight Restoration
For C6 Corvette owners looking for a permanent fix, follow these steps:
Step 1: Gather Materials
- Wet/Dry Sandpaper (400, 800, 1500, 3000 grit)
- Rubbing Compound & Polishing Compound
- UV-Resistant Clear Coat or Ceramic Coating
- Microfiber Cloths & Masking Tape
Step 2: Sand the Headlights
- Wet sand in circular motions, starting with 400 grit and progressing to 3000 grit.
- Keep the surface wet to prevent deep scratches.
Step 3: Polish & Buff
- Apply a rubbing compound with a foam pad.
- Buff in small circular motions until the surface becomes clear.
Step 4: Apply a Protective Coating
- Spray a UV-resistant clear coat or use ceramic coating for maximum durability.
- Let it cure for 24 hours before exposing it to moisture.
🔹 Related terms: wet sanding headlights, clear coat application, polishing compound for headlights, UV-sealant application, headlight buffing techniques
Recommended Products and Tools
For best results, consider these high-rated restoration kits and sealants:
Top Headlight Restoration Kits
🔹 Meguiar’s Heavy Duty Headlight Restoration Kit – Ideal for severe oxidation
🔹 3M Headlight Restoration Kit – Includes sanding and polishing pads
🔹 Cerakote Ceramic Headlight Restoration – Provides long-term UV protection
Best UV Sealants for Headlights
🔹 Opti-Lens Ceramic Coating – Durable hydrophobic protection
🔹 Turtle Wax Headlight Sealant – Affordable and easy to apply
🔹 Related terms: best headlight polish, UV sealant for car lights, ceramic coating for headlights, long-lasting headlight protection, top-rated restoration kits
Preventing Future Headlight Fading
To keep your headlights clear for years, follow these tips:
- Apply a UV sealant every 6 months
- Park in a garage or shaded area
- Wash headlights regularly to prevent dirt buildup
- Use PPF (Paint Protection Film) for added durability
🔹 Related terms: headlight maintenance tips, UV-protective coatings, prevent oxidation, car detailing tips, long-term headlight clarity
Common Mistakes to Avoid When Restoring Headlights
🚫 Over-sanding (creates deep scratches)
🚫 Skipping UV sealant (oxidation returns faster)
🚫 Using toothpaste or bug spray (temporary fix, damages lens)
🚫 Polishing without sanding (doesn’t remove oxidation)
🔹 Related terms: DIY restoration mistakes, headlight repair errors, improper polishing, sanding techniques, best practices for restoration
Cost Analysis: DIY vs. Professional Restoration vs. Replacement
| Method | Cost | Durability | Best For |
|---|---|---|---|
| DIY Restoration Kit | $20-$50 | 3-6 months | Budget-friendly fixes |
| Professional Restoration | $100-$300 | 1-3 years | Long-term clarity |
| Headlight Replacement | $600-$1200 | Permanent | Severe damage |
🔹 Related terms: headlight restoration cost, Corvette headlight replacement, DIY vs professional repair, budget-friendly fixes, is restoration worth it
Expert Tips from Auto Detailing Professionals
🔹 Use a dual-action polisher for best polishing results
🔹 Apply ceramic coating for maximum longevity
🔹 Avoid direct sunlight when applying UV sealants
🔹 Reapply a clear coat after every deep restoration
🔹 Related terms: detailing secrets, professional restoration techniques, expert-approved products, auto detailing hacks, long-lasting results
Final Thoughts
Restoring faded C6 Corvette headlights is easy with the right process and products. By using wet sanding, polishing, and a UV-protected clear coat, you can permanently restore clarity.
To ensure long-term results, always apply UV sealants and consider ceramic coating for extra durability.
Would you like help choosing the best restoration kit for your Corvette? 🚗💡